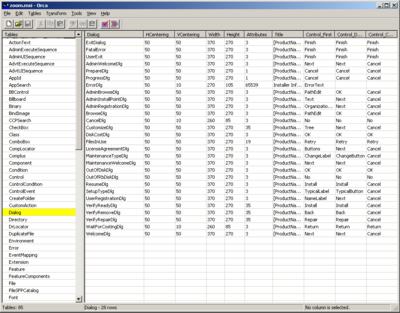
Open the database with Orca and select the Dialog table.
 |
33K PNG, 178K JPEG |
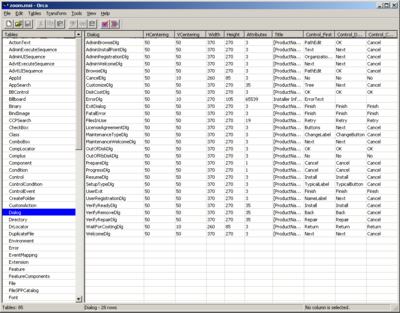
In the database rows pane, click the Dialog column to sort the dialog rows by the name of the dialog.
 |
33K PNG, 178K JPEG |
Select the rows for the dialogs you wish to delete. Select Edit / Cut Row(s), Tables / Drop Row(s), or press the Delete key to remove the rows from the table.
 |
33K PNG, 183K JPEG |
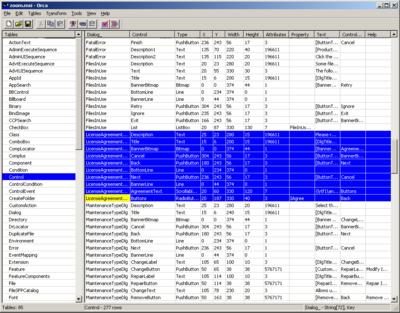
Now we remove the controls that were associated with those dialogs. Display the Control table and sort the rows by the Dialog column. Select the rows corresponding to the controls on the deleted dialogs and remove them.
 |
41K PNG, 214K JPEG |
Display the ControlCondition table and sort the rows by the Dialog column. Select any rows corresponding to the deleted dialogs and remove them.
Display the ControlEvent table and sort the rows by the Dialog column. Select any rows corresponding to the deleted dialogs and remove them.
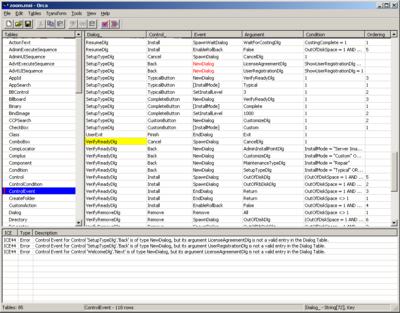
Now the dialogs and their controls have been cut out of the middle of the dialog sequence. However, the dialogs before and after the removed dialogs still refer to the deleted dialogs with their Next and Back buttons.
To find these dangling references, select Tools / Validate... from the menu. The validation dialog box appears. Select Full MSI Validation Suite for the Evaluation File and click Go. This will validate the contents of the tables in the database.
Any informational, warning or error messages generated by the internal consistency evaluators will be displayed in the validation dialog box. Click 'Close' to close the validation dialog box, and Orca will then display the validation errors in a pane at the bottom.
 |
35K PNG, 188K JPEG |
Correct the errors in the dialog sequence. The original
sequence was as follows: WelcomeDlg,
LicenseAgreementDlg, UserRegistrationDlg,
SetupTypeDlg. With the LicenseAgreementDlg
and UserRegistrationDlg removed, the sequence becomes:
WelcomeDlg, SetupTypeDlg.
In the ControlEvent table, modify the row for the
Next control on the WelcomeDlg. Change the
Argument column to the value
SetupTypeDlg.
Similarly, modify the row for the Back control on the
SetupTypeDlg. Change the Argument
column to the value WelcomeDlg. There are two rows for
the Back control on the SetupTypeDlg with
different values for the Condition column. Delete
one of the rows. On the remaining row, change the value of the
Argument column to WelcomeDlg and NULL
out the Condition column.
 |
34K PNG, 183K JPEG |
Revalidate the database to ensure that the sequence errors are corrected and that no other errors have been made during editing.
 |
31K PNG, 172K JPEG |
Save the modified database.